We always buy the look of products. Often the decision-making process behind purchasing is solely based on what we find visually appealing. Your eCommerce website should have positive effects on all target audiences. The look and feel of your website are part of your brand identity and your brand vision. A lot of new e-commerce companies are often preferred to do faster photography and no proper retouching. After they will get more experience, they would spend more time on the product’s look. Keep in mind, better equipment and proper lighting make better photos and less time for retouching. The goal of every business should be to automate as many manual tasks as possible and delegate anything that doesn’t compliment your skillset. So, how do you go about cutting time and improving the quality of your product images? In this article, we give some tips to make better eCommerce product photography
1. White Background
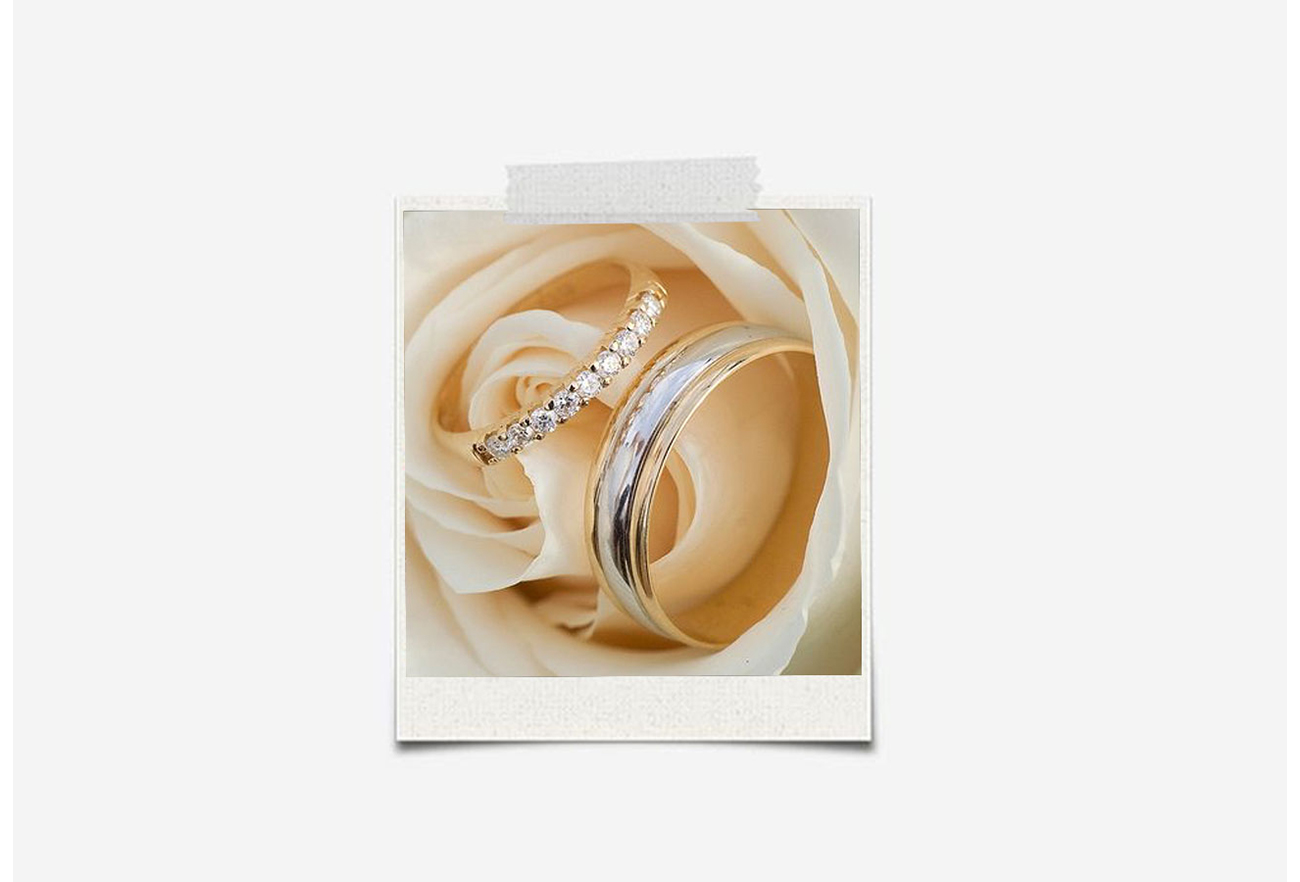
Have you ever noticed that most eCommerce websites have their products on a white background? A white background actually makes the eCommerce product photography pop out more, emphasizing the true colors of the product. Besides giving off a professional and aesthetic look, the contrast eliminates distractions and forces the eye to focus on the featured image. In fact, most of the marketplaces including Amazon, Wallmart, Groupon, Google shopping insist on white backgrounds for all products listed on their marketplace. The reason is simple – it minimizes unnecessary distractions, creates a sense of consistency and makes your product the center of attention.
2. Use Curve Background
Using a curved backdrop or photography shooting tent helps to eliminate shadows, and also cancels out sharp angles which can leave an image looking a bit harsh.
3. Lighting
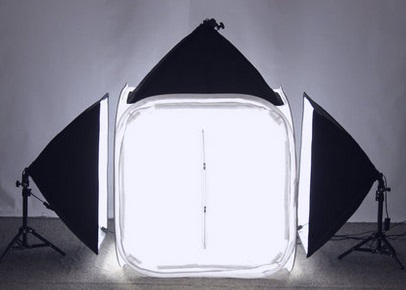
For product photography, lighting can make the difference between a good photo that converts into sales, and a bad one that gets dismissed and overlooked by online shoppers. the soft lights that are evenly distributed across your product and show more details of your products.
This might not always be an option, so you can also use umbrellas and reflectors and other types of diffusers.
4. Watch Your Shadows
If you use proper light and diffusers, it would help you to eliminate your shadows. Sometimes you need to change your light position or add more light. keep in mind, one light is not enough for product photography. With the soft boxes, the light will be distributed more evenly, which will result in smaller, softer shadows.
5. Display Different Angles
Depending on the shape, color, size, and essence of your product, sometimes it’s necessary to take shots from different angles. So, feel free to mix things up periodically, but make sure you measure the results to understand what your customers respond best to. When it comes to testing out different methods, always check metrics by tracking and analyzing shopper engagement levels. This will help you decide which photo should be used as your featured image.
6. Shoot Micro for Small products
The macro function, usually displayed as a flower icon on most cameras, will change the settings on your camera allowing it to capture extreme close-ups. This mode is ideal for capturing the intricate details of your product.
7. Tent Photography
A light tent is a translucent fabric tent that diffuses incoming light, any objects placed within the tent will not exhibit surface reflection. If you have ever wanted to take a photograph of a highly reflective object without capturing any reflections from the object’s surface then a light tent would help you to achieve the image you require. Light tents are often used when photographing jewelry or precious stones for product catalogs. Using macro photography techniques along with a light tent can produce extremely detailed images without distracting surface reflections.
The standard set-up for light tent photography is to place the tent on some kind of table or end table, with the light sources directly opposite each other on each side and the tripod centered in front.
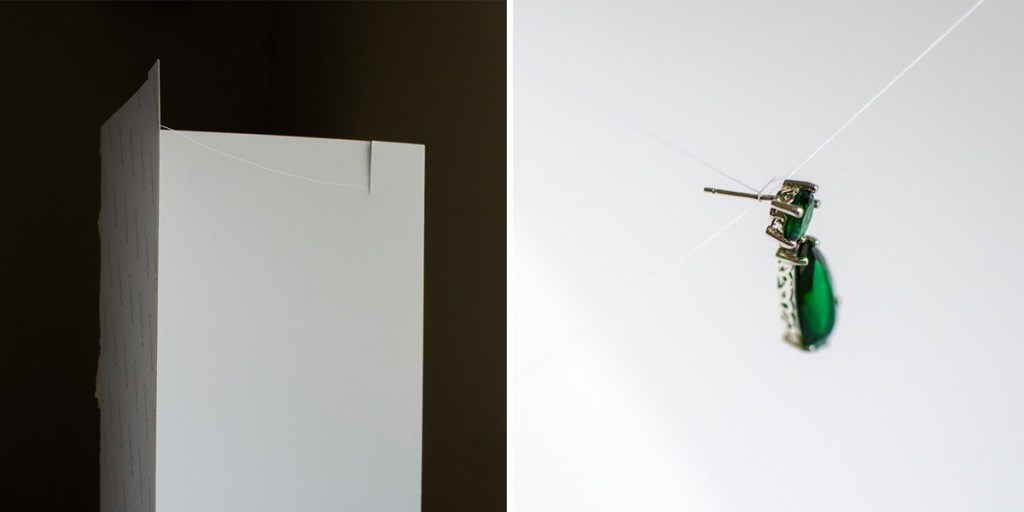
8. Support Your Items
Sometimes your products just need a support platform. If you are trying to show products that are generally flat, or perhaps don’t stand up on their own, try using a stand, mannequin or a subtle, non-distracting display ornament. This will display your items in a way that gives your customer an idea of the overall size, the contrast between the object and the item.
9. Comprehensive Product Descriptions
When it comes to selling online and went to do eCommerce product photography, details are very important! If you’re not sure what to include, check out similar products on some of the most popular marketplaces or better yet, select the most frequently asked questions from your customers and include the answers in the description.
10. Consistency Is Key
It’s a good idea to play around with a few different product photography formats, iterating where possible, consistency is key. So, think of it as a fashion collection , they might all be different garments, however, having a central theme that ties each outfit together is what makes a cohesive collection. In the same way, when uploading multiple images on your eCommerce store, ensure that they look like part of the same batch rather than random images pulled off the internet.